One of the biggest photography myths out there is that you need an expensive camera and to shoot in manual mode in order to take good pictures. But actually, so much of what makes a good photo is lighting and composition: 2 things that absolutely have nothing to do with how “good” your camera is.
If you don’t have your lighting and composition down, it doesn’t matter how expensive or fancy your camera is. Your photos will be subpar, plain and simple. That’s why I want to take a deep dive into lighting and composition for travel photography in this blog post. Let’s get started!

TRAVEL PHOTOGRAPHY COMPOSITION TIPS
Composition in photography just means what is in the frame of your photo and how it is arranged. When you have good composition, your photo just feels complete and pleasing to the eye. This is why it’s so important to taking good photos!
In this section, I’ll be going over a few important photography composition tips to help you nail composition in your travel photos.
Point of Interest
First up: point of interest. Your point of interest in photography is the subject of your photograph-the thing that you want the viewer to really focus on. In portrait photography, this would be the person you’re taking a portrait of. In landscape photography, it might be a mountain or a small house off in the distance.
The first thing that you want to do when composing your photo is to pick a point of interest. All of my other photography composition tips really follow off of the point of interest, and so it’s the natural first thing to do!
Rule of Thirds
Even if you’ve never picked up a camera before, you’ve probably heard of the rule of thirds. It’s by far the most famous photography composition rule, and for good reason: following the rule of thirds almost always results in well-composed photos.
The rule of thirds states that if you have 2 horizontal and 2 vertical lines dividing up the frame of your photo, creating 9 boxes, the point of interest should be placed on one of the intersections of those lines.
You also want to place the horizon line along one of the horizontal lines.
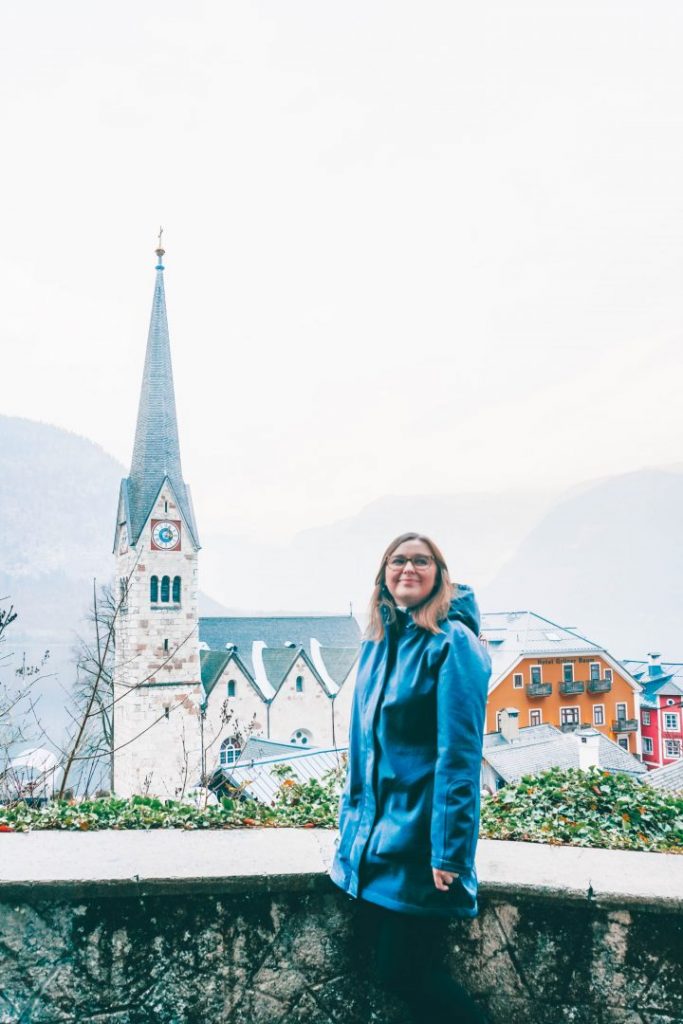
So, for example, if you look at this image, The point of interest, me, is placed along one of the vertical rule of thirds lines.
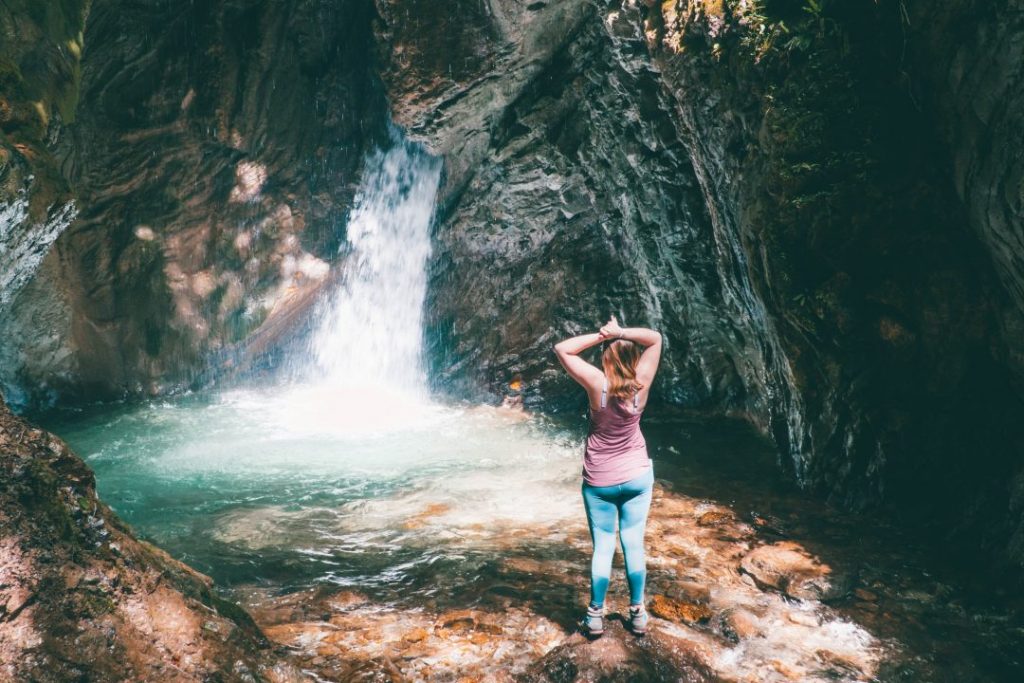
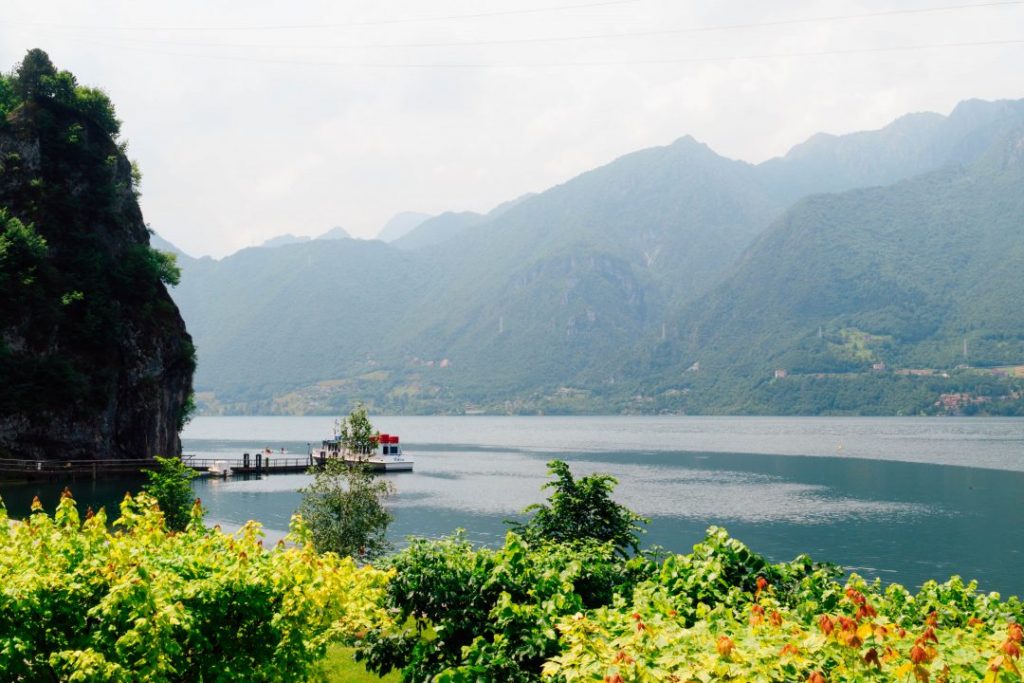
You can see a few more examples of the rule of thirds below. And as you’ll see, there’s just something about these photos that is really visually pleasing.

Breaking the Rule of Thirds
Now, while following the rule of thirds will almost always result in a good-looking image, there are actually times when you want to break the rule of thirds (gasp!).
For example, some people are firmly against centering things, but it can create a feeling of symmetry that is really unique. This is especially true if you’re taking a photo of a reflection in the water. Then, you should definitely be centering things!
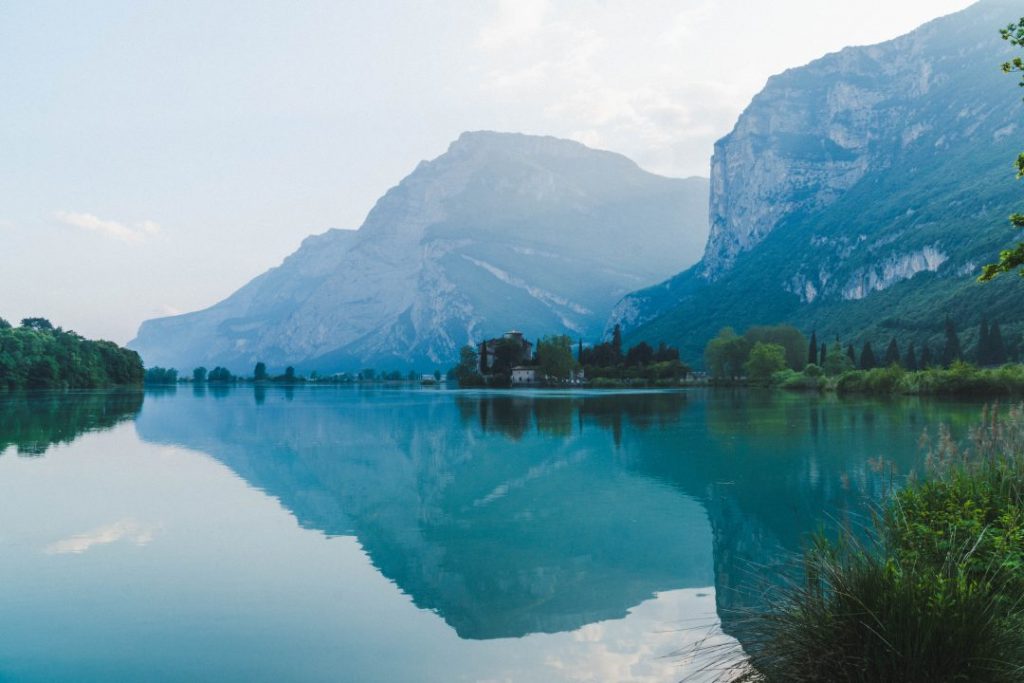
When you do this, though, you just want to make sure that your image is balanced! That means having an equal “weight” distribution throughout the image, so that one part isn’t “heavier” than the other if that makes sense.
Field of View
Field of view is what you choose to include in your image. The small part of the world that you deem important enough to capture. Paying attention to your field of view is important, because what you choose to include in your photo obviously affects how that photo turns out.
For example, you might take a far-away shot that includes a lot of different things, or a more close up shot that only includes a few things. These will obviously be entirely different photos.
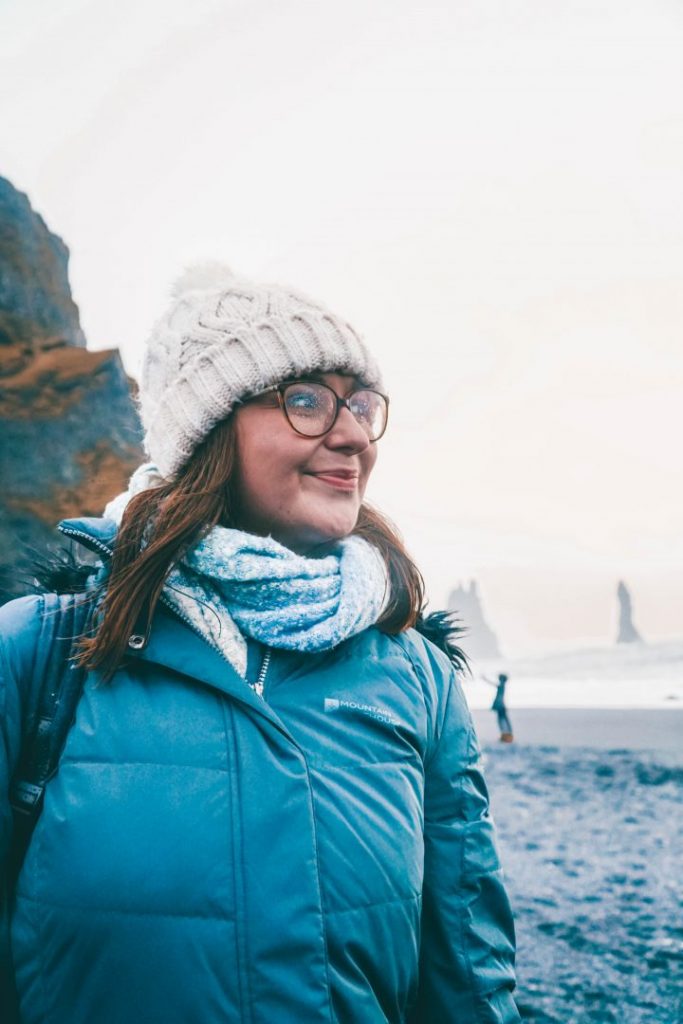
For example, in these photos from the black sand beach in Iceland, the first photo I took of myself was farther off and caught a lot of people in the background. When I chose a closer, tighter field of view, though, I was able to block out those people with my head and create a much more magical shot.
Perspective
Perspective is where you place your camera in relation to the subject. The easiest way to think of this is in terms of it being either a low angle, a high angle, or at eye level.
Different perspectives will create different feelings in photographs. For example, if you’re taking a photo of a kid from your eye level, it will actually be a high angle and make them feel dwarfed. But if you get down to their eye level, you’ll have a much more effective portrait.
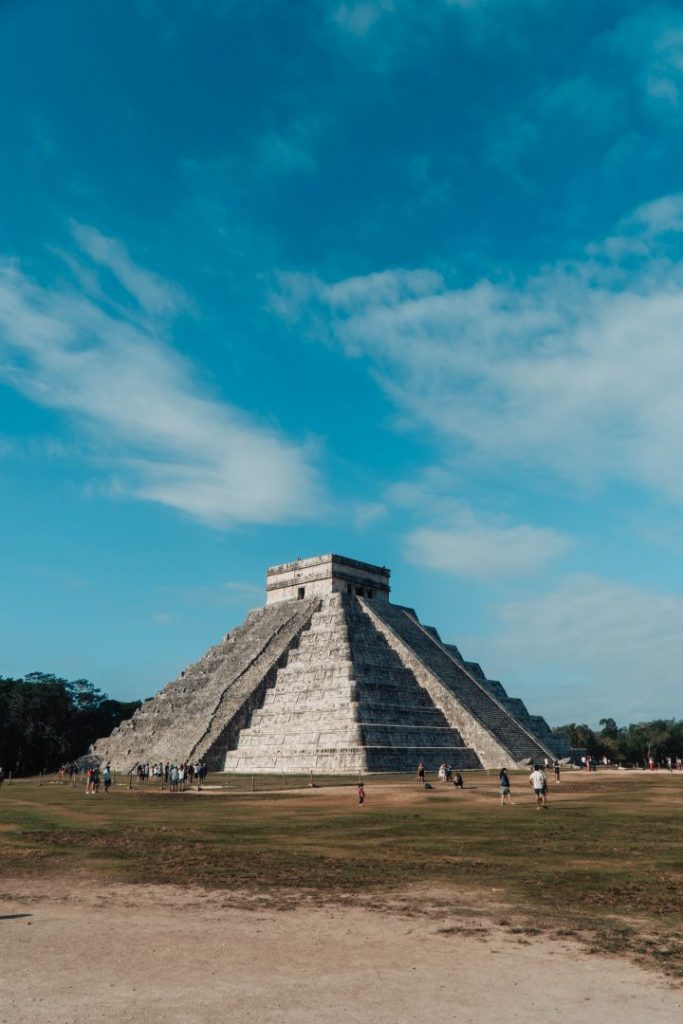
Using a low angle, on the other hand, can make things feel much bigger than they actually are. For things like monuments, this is a great strategy to capture their grandioseness.

Movement
There are a lot of different rules when it comes to shooting movement – for example, that you should use a slow shutter speed to blur movement or a fast one to freeze it.
But when it comes to photography composition tips for movement, here’s what you need to know: when capturing a moving subject, give them room to move within the frame. This means that if they’re moving in one direction, you should place them along the vertical rule of thirds lines that gives them the most room to move in that direction.
When you don’t do this, it’ll feel like the subject is about to shoot straight out of the photo, which can be off-putting.
For example, in this first picture of a boat that I took in Bacalar, Mexico, it feels like it’s about to fall off the edge of the photo. In the second photo, though, I placed it along the right vertical rule of thirds line, and it’s a much more satisfying image.
This same rule applies when you’re taking pictures of people looking in a direction. In general, you want to have them looking into the frame, rather than out of it. This is so that people can see what they’re looking at and feel much more satisfied with the image.
Framing
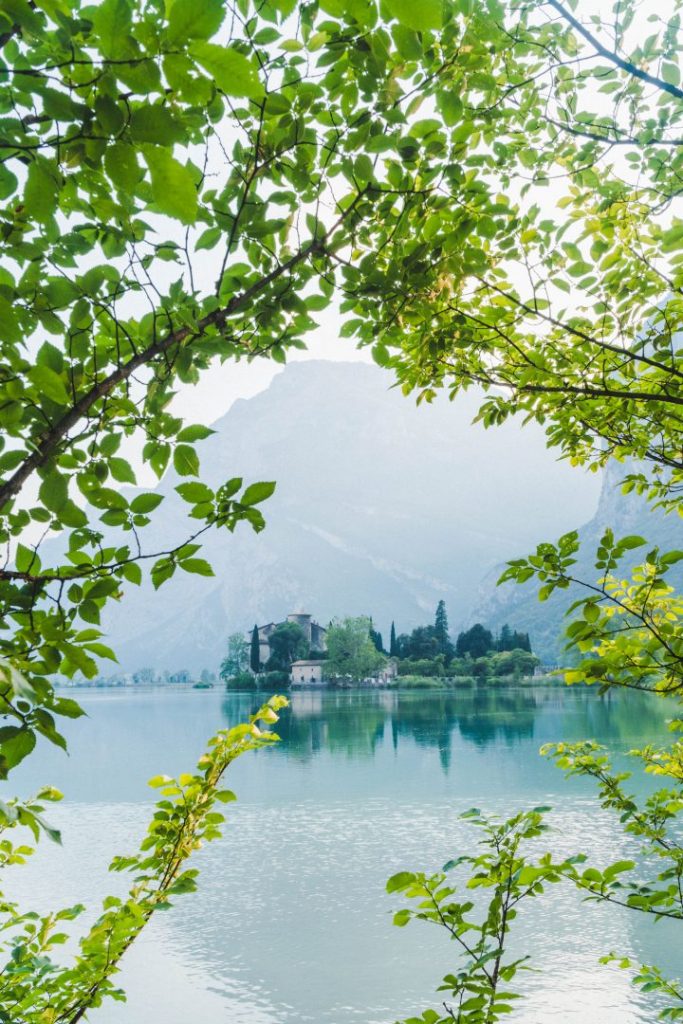
Framing is one of my favorite fun photography composition tips because it’s just a really cool way to change things up a create some visual interest. Framing is basically just when you capture the subject of your photo through something else, creating a frame. This could be a doorway, a bunch of branches, a window, literally anything.
Here are two really cool examples of framing that I love!
Leading Lines
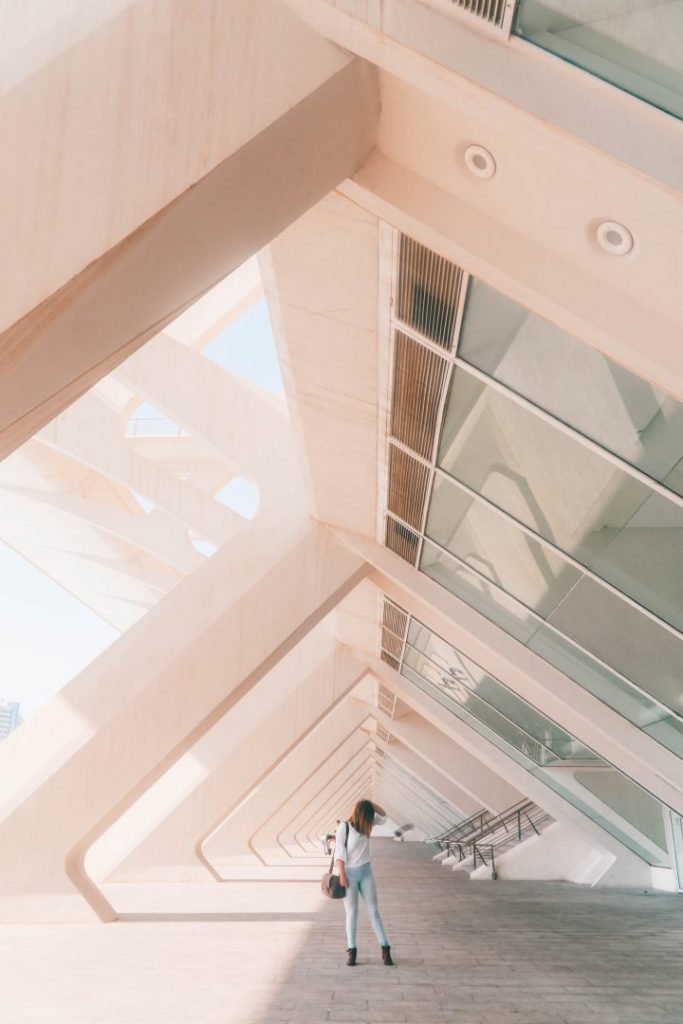
Leading lines is another fun photography composition tip. Leading lines are when you have lines in your photo leading straight towards your subject. This helps to guide the viewer’s eye through the photo and make it feel complete.
For example, in this photo, I have the leading line of the balcony leading up to the subject, me. Then (bonus tip from earlier), I’m looking up towards the frescoes on the wall, telling the viewer to look there next!
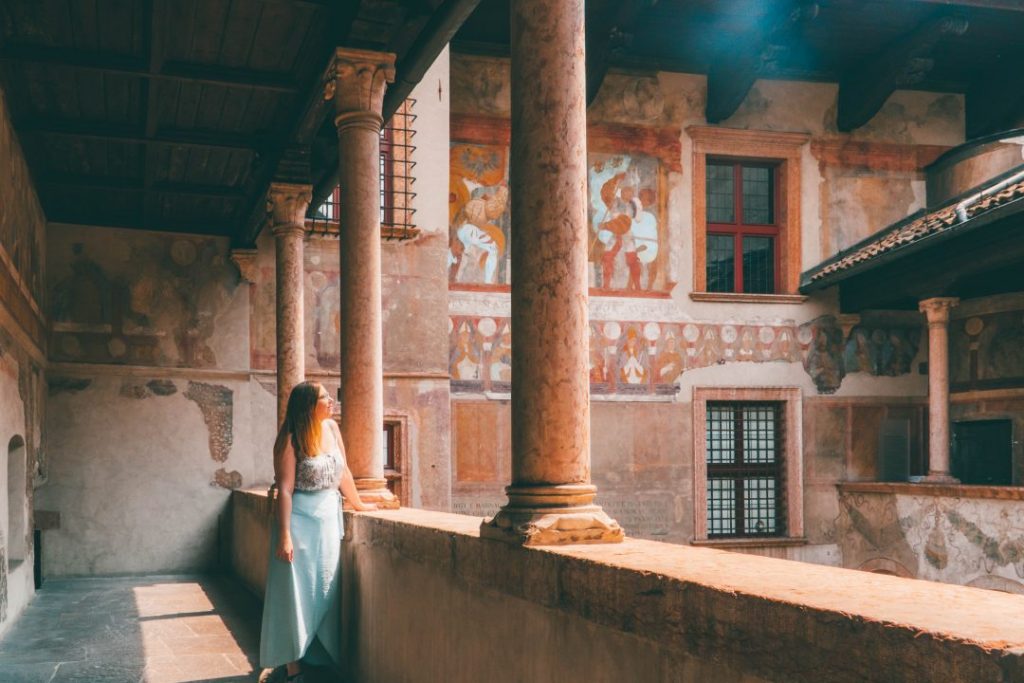
Leading lines generally work best when they go straight through one of the corners of your image.
Splitting Heads
The last photography composition tip I have is to make sure that, when you’re taking portraits, to not have any lines going through your subject’s head. This can be a horizon line, a pole, a tree, anything. Having a line running through a person’s head can be just a little bit off-putting, so try to move just a little bit and get that line somewhere else!
TRAVEL PHOTOGRAPHY LIGHTING BASICS
In addition to composition, lighting is one of the most important factors in photography, and having good or bad lighting can really make or break a picture. In this section, I’ll go over some photography lighting basics, including different kinds of lighting placement and different kinds of light, and how to work with each one of them.
PHOTOGRAPHY LIGHTING BASICS: 4 TYPES OF LIGHTING PLACEMENT
Where your light is placed can have a huge impact on how your photo turns out. When it comes to travel photography, there are generally 4 types of lighting placement that you have to worry about.
Front
Front lighting is when the light source comes from behind the camera, lighting your subject up in the front. This type of lighting results in really even exposure, lighting up everything in your photo. It also tends to make things a little bit flat and isn’t super great for capturing depth or detail.
Back
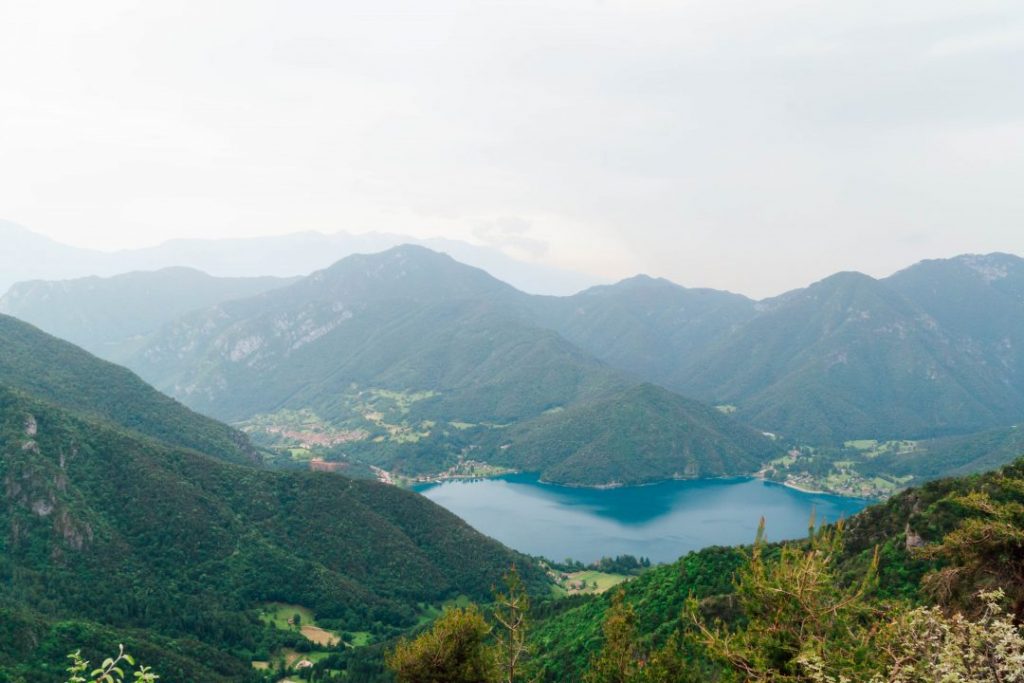
Backlighting is when the light source comes from in front of the camera, lighting your subject up from behind. This type of lighting can cause a lot of exposure problems, including super overexposed backgrounds and underexposed foregrounds. It also very often results in silhouettes.
When you’re dealing with backlighting and don’t want a silhouette, it’s best to expose for your subject, even if that means that your background will be slightly overexposed.
When you do want a silhouette, though, then backlighting is definitely your friend! In this case, expose for the background.
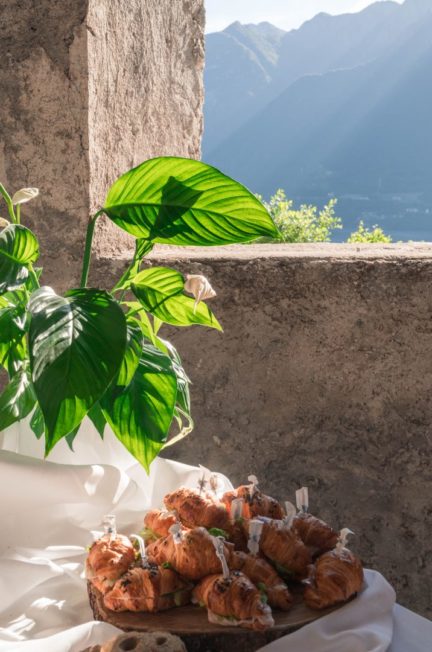
Backlighting can also make things like leaves or hair glow, which is very cool!
Side
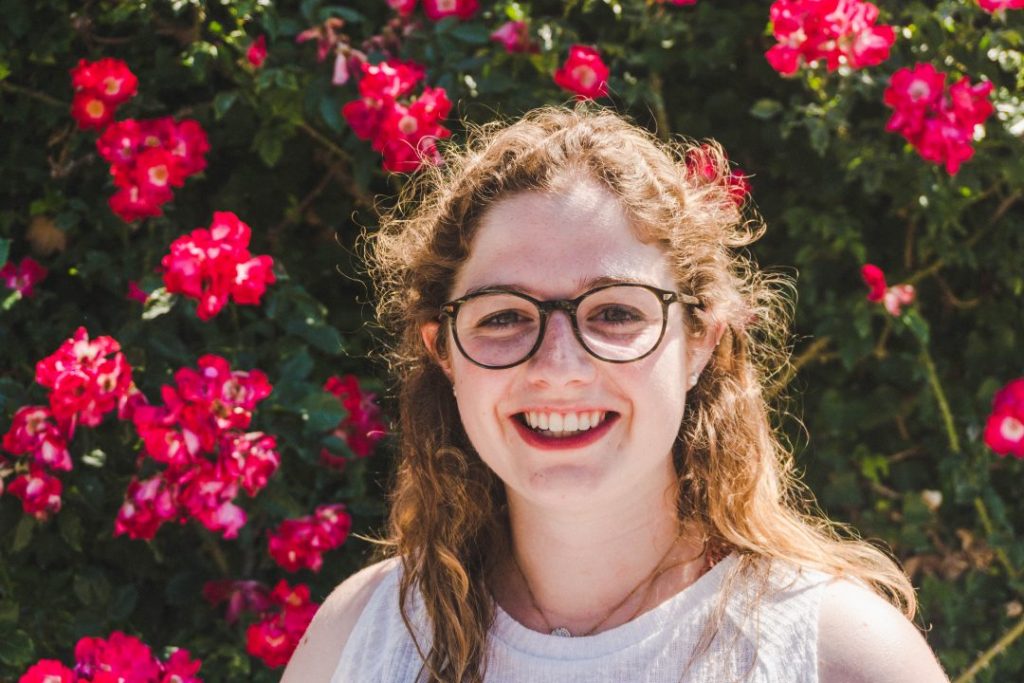
Side lighting is when the light source comes from the side of the subject. It is by far the most flattering kind of lighting and is the reason why golden hour light is so popular. One thing to look out for with side lighting, though, is that it doesn’t evenly illuminate things, so you’ll have to pay a little bit more attention to your exposure.
Top
Top lighting is when the light source comes from the top of your subject. This kind of lighting tends to bring out a lot of detail and is generally incredibly unflattering for human subjects. You’ll find top lighting most often in midday light, which we’ll talk about below.
PHOTOGRAPHY LIGHTING BASICS: DIFFERENT KINDS OF LIGHT
There are absolutely loads of different kinds of light out there, from the different lights that happen during different times of day to the different colors of artificial lighting. In this section, we’ll go over some of the photography lighting basics that you’re most likely to encounter in your travel photography.

Natural Light in Photography
Natural light is the light that comes from the sun. In travel photography, you’ll most often encounter natural light and should definitely know how to deal with it. Of course, because natural light comes from the sun, it’s hugely unpredictable and you have no control of it. There are also loads of different kinds of natural light depending on the time of day, which is what we’ll go over in this section.
Golden Hour
Golden hour is the hour after sunrise and the hour before sunset. During this hour, you get natural side lighting that’s a beautiful golden color and incredibly flattering. There’s a reason that this is the most popular time of day to take photos!
When you’re traveling, you definitely don’t want to miss golden hour. Plan to be in places where you know you want really good photos of during this time. It’s basically impossible to take a bad photo in golden hour!
Midday
Midday lighting is the bane of most photographers existence. It takes place from around 11 am – 3 pm and results in really harsh top lighting. So harsh, in fact, that many photographers say that you should just avoid shooting during midday at all.
However, while midday lighting is really bad for portraits because it accentuates details like wrinkles and creates shadows under the eyes, it’s actually really good for architecture and detail photography precisely because it does accentuate these details! So plan to shoot more architecture and details during these hours.
When you do want to take portraits, all you need to do is find a bit of shade. Then, you eliminate that harsh top lighting and actually have some really good portrait lighting!
Here are a few more great tips for photography in the midday sun.
Overcast
A lot of people get bummed out when it’s overcast during their travels, but this is actually one of the best kinds of natural light in photography. This is because it provides a really soft, even light. It’s especially good for portrait photos!
So don’t despair if it’s a little gray and cloudy out. Go out and shoot anyway! You’ll be surprised by the photos that you get.

Twilight/Blue Hour
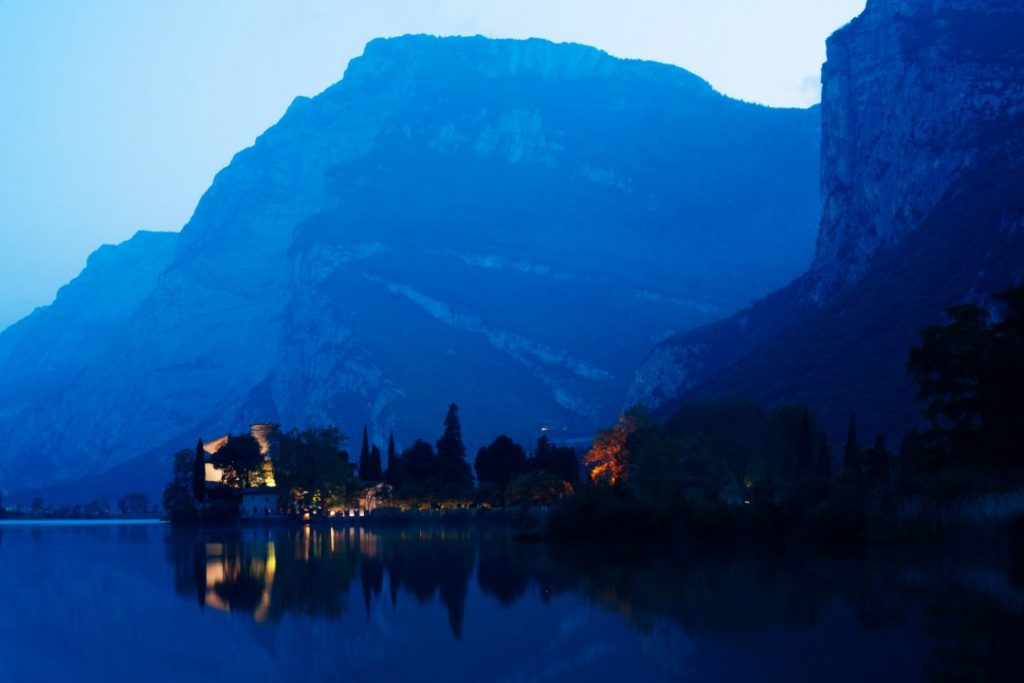
Twilight/blue hour is the hour before sunrise or after sunset when there is minimal light and the sky is a really gorgeous dark blue. This is the perfect time for photography city lights and other nighttime scenes. Just make sure to use a longer shutter speed and a tripod to let enough light in!

NIGHT
You definitely don’t have to put your camera away when it gets dark. In fact, night photography is some of the most magical photography out there, especially when you’re in farther out destinations where you can capture a lot of stars.
For night photography, you’ll definitely want long shutter speeds and a tripod.
Artificial Light in Photography
You’ll encounter artificial light in travel photography when you go indoors in museums, restaurants, etc.
In general, artificial light is a bit less flattering, so you’ll want to take portraits next to a window if you can. In addition to this, artificial light is usually less bright than the sun, so you’ll need to use a smaller aperture or slower shutter speed to let in enough light.
White Balance
When it comes to artificial light, the most important thing you’ll want to pay attention to is the white balance. This is because artificial light hardly ever casts things in a light that makes white actually look white.
In general, auto white balance should be able to handle this just fine. But if your colors do look weird, there are different settings like Tungsten for different kinds of artificial light.
And there you have it! All of the composition and lighting tips that I have in my arsenal. Hopefully, you can go out now feeling a lot more confident about how to take good pictures in different situations, even if you don’t have a big, fancy camera.

Pin it for later!







[…] longer you don’t know how to use your camera or know things like how to use composition and lighting to your advantage, the more memories you’re going to miss. Just think about how much you’ll regret that […]
[…] Read next: Composition & Lighting: 2 Secrets to Great Travel Photos […]